User Interface
Here we'll go through some of the basic elements of the UI. Since IntelliJ 2022.3, there is a new opt-in UI that JetBrains have been developing for a while. We like that it's more compact than the classic UI, so we'll be using it in the screenshots in this guide. You can turn it on at Settings | Appearance & Behavior | New UI | Enable new UI, or if you prefer the classic UI things should still be pretty similar.
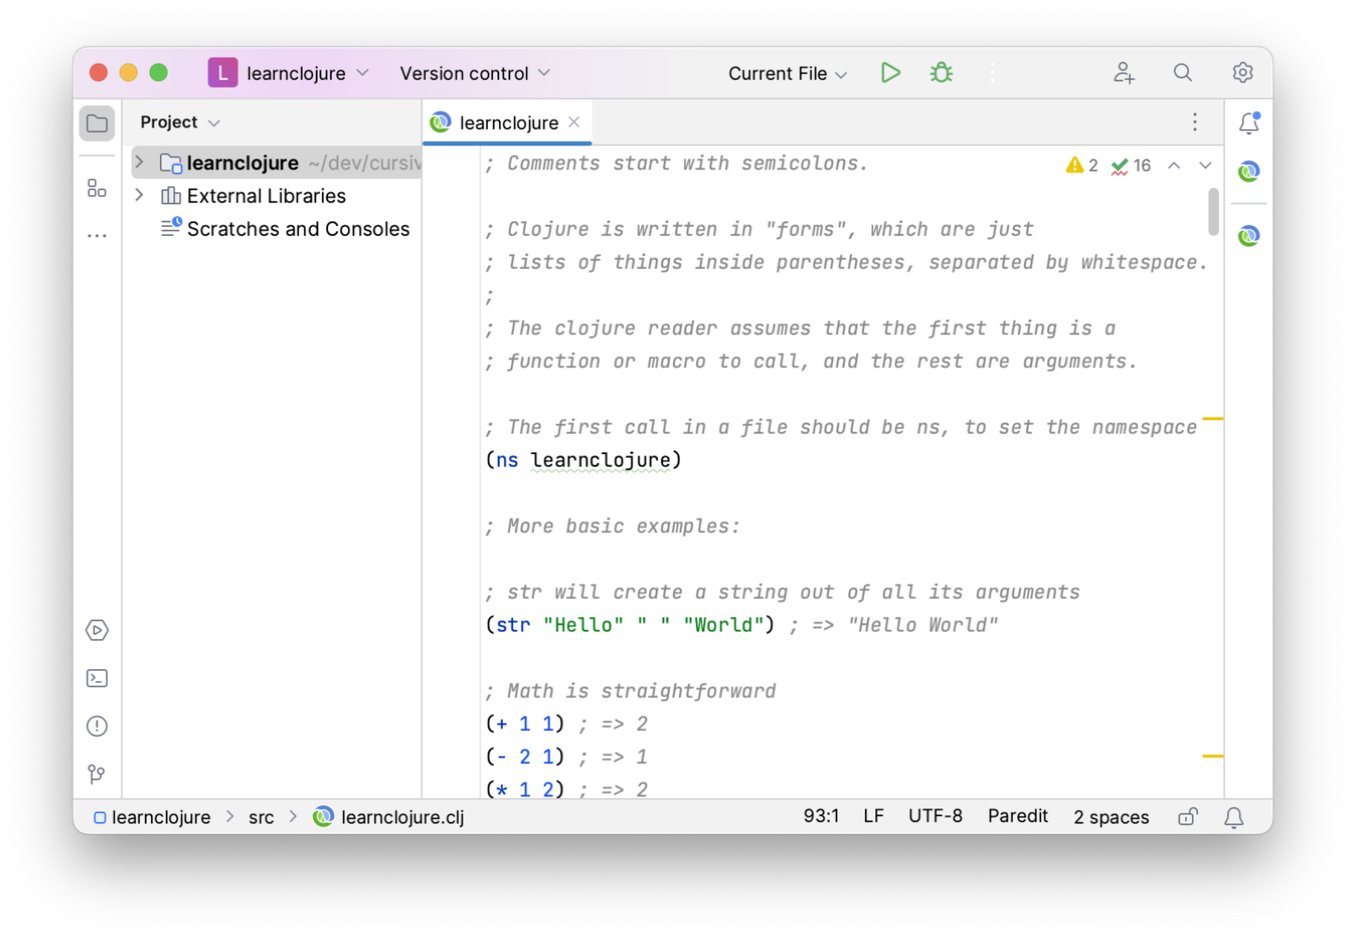
By default, the UI will look something like this:

At the very bottom of the window is the status bar, which shows various useful bits of information. Surrounding the main centre portion of the editor window are the tool bars, which you can click on to open the corresponding tool window. In this image, the Project tool window is open on the left. Some of the tool windows also have numbers associated with them; you can open and close them by pressing Alt num (⌘ num on the Mac). You can also move tool windows from one side of the UI to the other or between the bottom and the sides by dragging the corresponding tool bar.
Speed Search
Most IntelliJ components provide speed search functionality. This will filter a list of items based on what you've typed. For example, in the Project window you can start typing and the IDE will take you to items matching the entered text. In general, with a little configuration everything can be done in IntelliJ without requiring the mouse.
Dark colour scheme
IntelliJ also provides a native dark colour scheme - enable it in Settings→Appearance & Behavior→Appearance→Theme→Darcula.
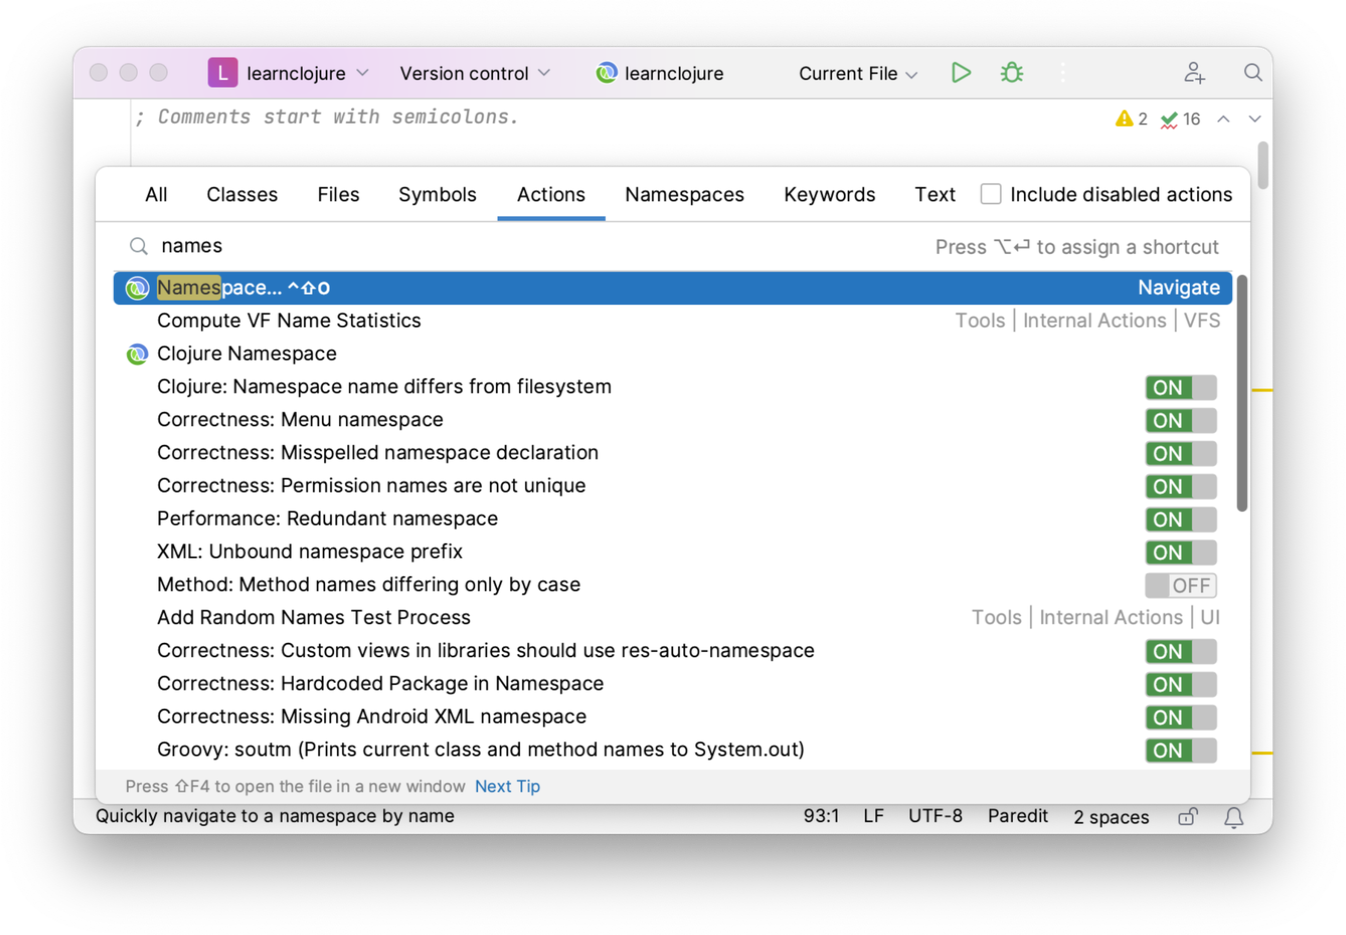
Search for an action by name
If you want to execute a particular action, you can always search for it using Ctrl+Shift+A (). Start typing and the command list will be filtered by the entered text:

Configuring a minimal UI
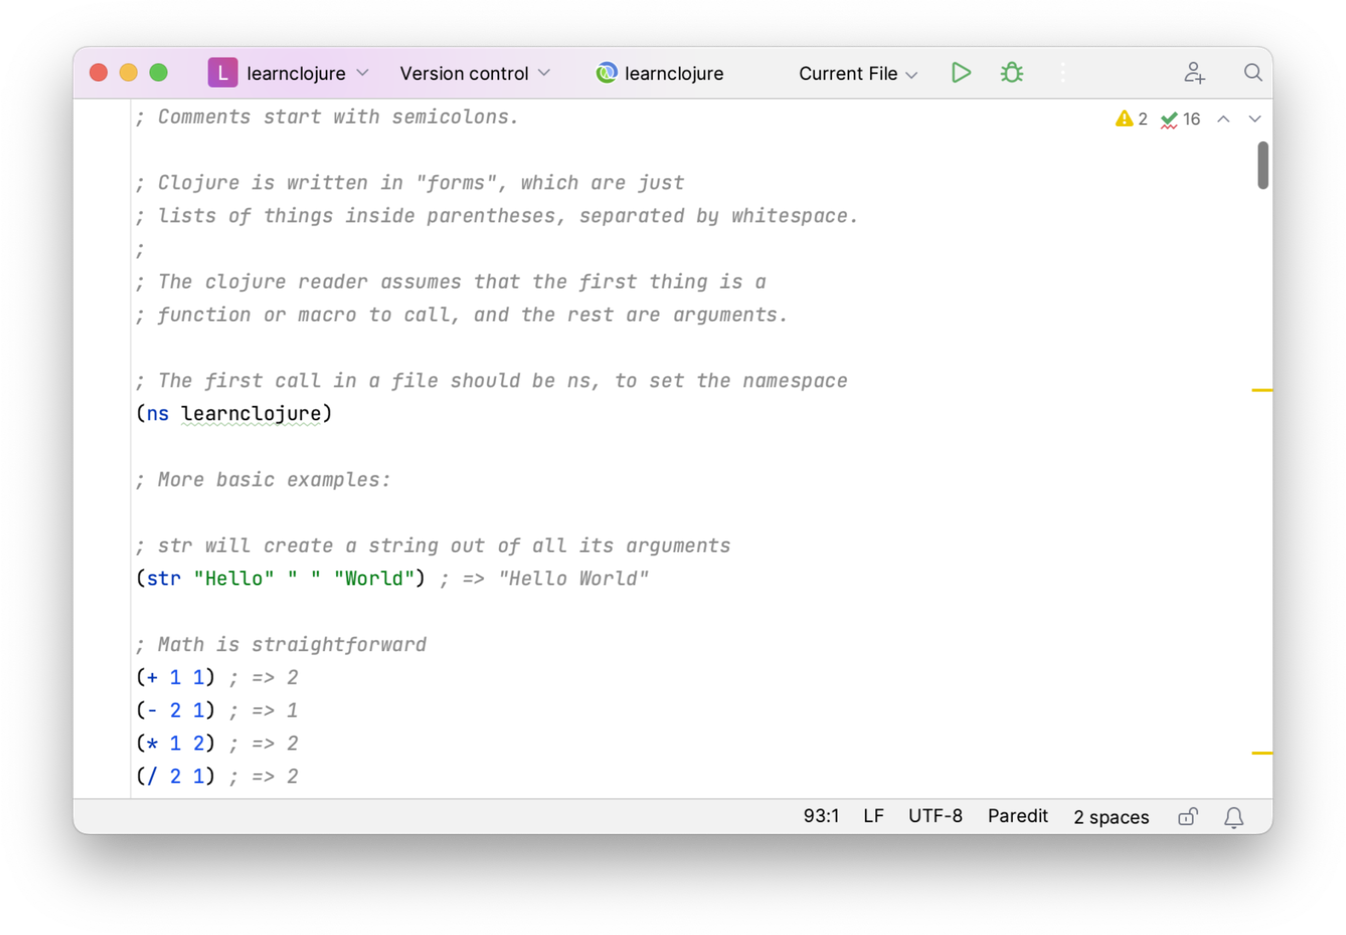
Here at Cursive Central, we prefer a more minimal UI. This may be more suitable for more advanced users. Here's how to
configure it. First, you can turn off the tool bars using .
Hide the Project window by clicking the button. Then, in the
View menu, deselect Toolbar and Navigation Bar. Finally, in Settings→Editor→General→Editor Tabs set
Placement: to None. You'll end up with a UI that looks more like this:

Don't worry about being able to move between files without tabs, we'll talk in the Getting Around section about how to do that. Of course, if you prefer tabs (or any other part of the UI above) just leave it enabled.
Some suggested settings
One thing we recommend for programming Clojure code is to bind the tab key to the Emacs Tab action, which will always
indent the current line no matter where in the line the caret is. Open Settings→Keymap and type "tab" into the
search box - you should see both Tab and Emacs Tab options near the top. Double click on Tab and remove the
binding to the tab key. Then double click on Emacs Tab and select Add Keyboard Shortcut. In the First stroke box
press the tab key, and press Ok. Leave any conflicting bindings mapped if IntelliJ prompts you.
← Getting to REPL Working with Leiningen →
